AD. Creating your own greeting cards is one of the most meaningful ways to express love, gratitude, celebration, and creativity. Whether for birthdays, holidays, or special milestones, handmade cards hold a charm that store-bought options often lack. Many people enjoy improving their card-making skills by experimenting with unique styles, techniques, and materials. As crafting tools evolve, even beginners can explore advanced methods such as laser cutting, which brings a level of precision and detail that traditional tools cannot match. If you’re curious about elevating your DIY projects and making your greeting cards truly unforgettable, this guide will walk you through everything you need to know—while keeping the focus on creativity, craftsmanship, and personal expression.

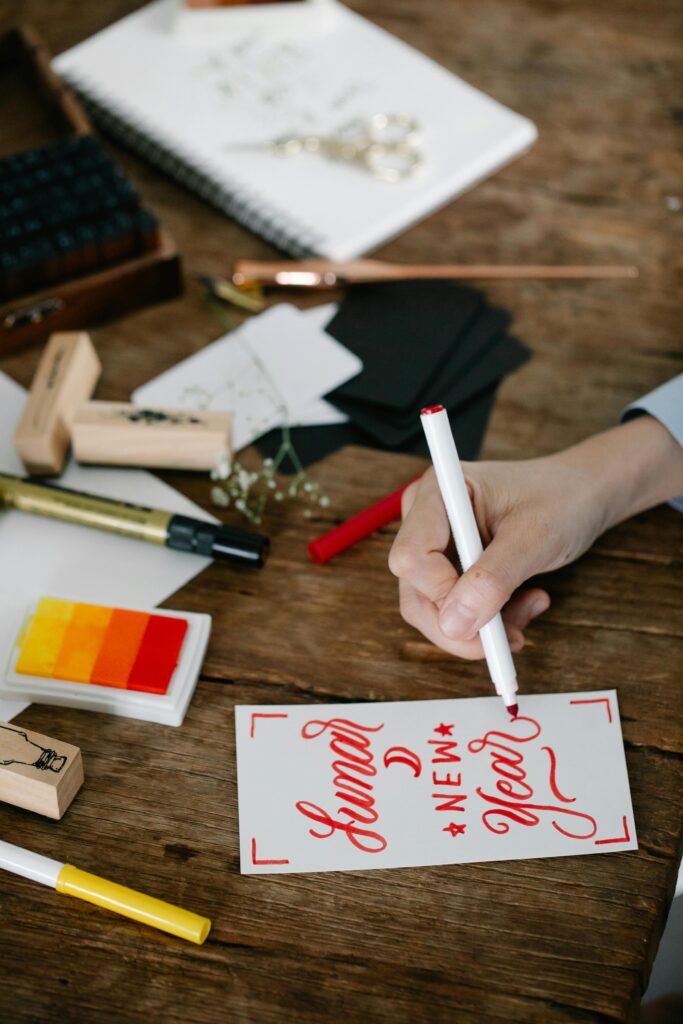
[Photos by Katya Wolf]
Why Handmade Greeting Cards Are Worth Creating
Handmade greeting cards offer something that cannot be replicated by mass-produced alternatives: a personal touch. They reflect your effort, time, and intention. Many people find crafting to be a relaxing hobby and a creative outlet that brings joy to both the maker and the recipient. Designing cards lets you explore colors, textures, and artistic styles in a way that feels meaningful.
In today’s digital world, a physical card stands out. While digital messages are quick, handwritten notes feel more intimate and lasting. They become keepsakes—stored in memory boxes, displayed on desks, or tucked into books as reminders of special moments.
Exploring Tools and Techniques for Next-Level Designs
As you grow in your crafting journey, you’ll discover different tools that can make your cards more polished and intricate. Traditional techniques like hand-cutting, stamping, layering, and drawing remain popular. But many crafters now incorporate more advanced methods to achieve detailed and professional results.
Cutting paper with a laser engraver allows for extremely precise cuts, delicate borders, detailed lettering, and intricate shapes that are nearly impossible to create by hand. It is especially helpful for making lace-style edges, patterned overlays, or decorative elements that elevate the overall look of your cards.
Choosing the Right Materials for DIY Greeting Cards
The materials you choose influence both the durability and visual appeal of your cards. Here are some essentials:
1. Cardstock
The foundation of most greeting cards. Available in various weights and textures, thicker cardstock gives your card structure and a premium feel.
2. Decorative Paper
Patterned, metallic, and handmade papers add interest and can be used for backgrounds, frames, or accents.
3. Adhesives
Glue sticks, double-sided tape, craft glue, and foam tape each serve different purposes. Foam tape adds dimension, while double-sided tape helps create clean edges.
4. Embellishments
Ribbons, stickers, pressed flowers, beads, sequins, and buttons help personalize your designs.
5. Cutting Tools
Scissors, craft knives, paper trimmers, and cutting mats are basics. Laser cutters or stencil tools can be used for more detailed or custom designs.
Selecting high-quality materials ensures a polished, long-lasting result.
Simple Steps to Designing a DIY Greeting Card
Crafting a beautiful card doesn’t require professional skills. Here’s a simple process to guide you:
1. Start with a Theme
Choose the purpose—birthday, thank-you, sympathy, congratulations, anniversary—and build your design around it.
2. Sketch Your Layout
A rough sketch helps organize where images, text, and decorative elements will go.
3. Choose a Color Palette
Colors set the tone. Pastels create softness, bold colors add energy, metallics add luxury, and neutrals create elegance.
4. Use Layering Techniques
Layering papers and textures adds dimension and visual interest. Try combining smooth and textured papers, patterned and plain elements, or multiple color tones.
5. Add a Personal Message
A handwritten note brings warmth and authenticity. Even simple messages feel heartfelt when written by hand.
Advanced Techniques for Stunning Cards
Once you are comfortable with the basics, try exploring:
- Embossing: Adds raised textures and patterns for a tactile finish.
- Watercolor Art: Creates soft backgrounds, florals, or abstract designs.
- Stenciling and Stamping: Helps create repeated shapes or decorative themes.
- Laser-Cut Details: Ideal for precise patterns, delicate motifs, and custom shapes.
These techniques help your cards look polished, detailed, and visually striking.
Reasons to Create DIY Greeting Cards
Making your own greeting cards offers many benefits:
- Encourages creativity and artistic expression
- Allows full personalization for each recipient
- Creates meaningful, keepsake-worthy gifts
- Offers a calming, therapeutic crafting experience
- Encourages experimentation with various materials and techniques
- Helps develop fine motor skills and creativityAllows you to craft designs unavailable in stores
Tips for Improving the Aesthetic of Your Cards
- Keep your layout balanced—avoid clutter
- Use contrasting colors to highlight important parts
- Add textures to create depth
- Choose a focal point for the design
- Use high-quality paper to enhance durability
- Keep edges neat and clean
- Create harmony through consistent fonts, colors, and styles
Conclusion
DIY greeting cards are more than simple paper crafts—they are heartfelt creations that carry emotion, effort, and imagination. Whether you prefer minimalist designs made with simple tools or more advanced creations using techniques like cutting paper with a laser engraver, each card becomes a personal work of art. With thoughtful design, the right materials, and a willingness to experiment, anyone can craft greeting cards that feel expressive, meaningful, and unforgettable.