AD. I never thought I'd become passionate about shed floors, of all things. But after my disaster three years ago, I've become that person who inspects floor thickness whenever anyone mention buying a new shed. Garden Buildings Direct offers brilliant outdoor structures, and choosing one with proper garden sheds flooring options can save you from expensive mistakes.
My first shed seemed perfect – an affordable 8×6 model with a 12mm OSB floor. "How important could it really be?" I thought. Six months later, I was staring at a warped, sagging floor that buckled under my lawnmower's weight. Lesson learned the hard way.
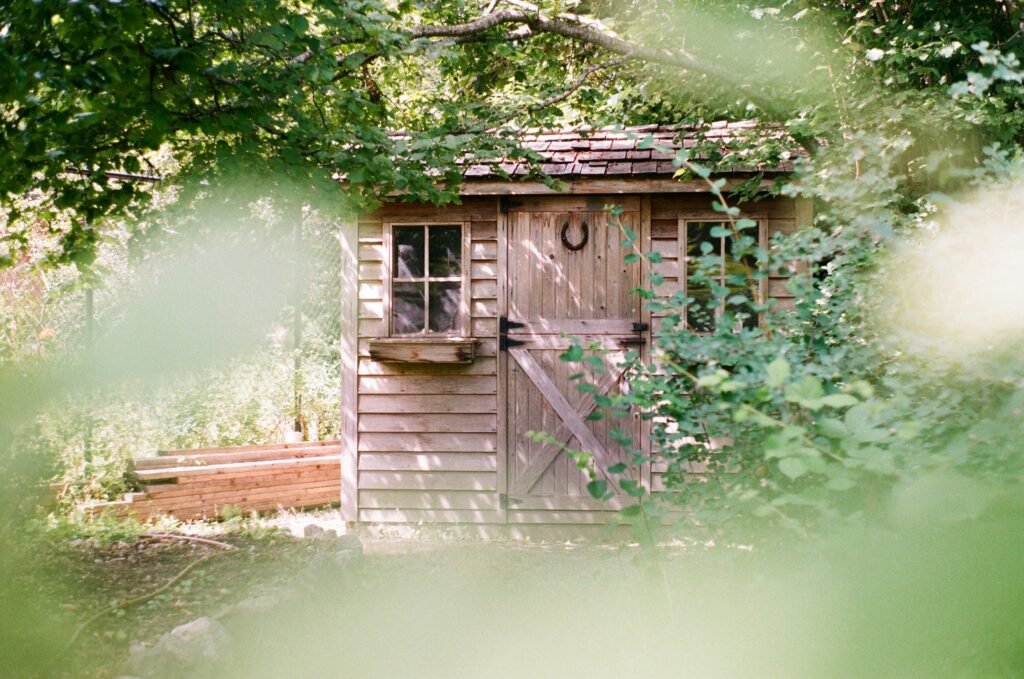
[Photo by Sebastian Huxley on Unsplash]
The Real Cost of Thin Flooring
That bargain garden shed ended up costing me twice – once for the initial purchase and again when I had to replace the entire floor. "I saved £75 going with the thinner floor option," I told my neighbour while we hauled damaged timber to the skip. "And spent £180 fixing it." The chap at the local timber yard couldn't hide his smirk when I explained my situation. "We see this every spring," he said. "People buy cheap sheds in autumn, then come back for replacement flooring after winter."
Understanding Your Options
Shed floors typically come in several thickness options:
- 11-12mm is used as a standard size in some places like Garden Buildings Direct.
- 16-18mm provides a decent middle ground for general storage needs.
- 19-22mm is what I eventually installed – the sweet spot for most garden storage without breaking the bank. Garden Buildings Direct offer the option to upgrade to 19mm on most wooden sheds.
What Actually Happens With Thin Floors
My thin floor didn't just sag – it created a domino effect of problems throughout the shed. The door frame twisted slightly, making the door stick in damp weather. Small gaps appeared between wall panels, inviting spiders to build elaborate webs in every corner.
Beyond Thickness: Other Critical Factors
"Pressure treatment isn't optional," the timber yard chap insisted, showing me samples of untreated wood that had rotted within months of ground contact. He recommended raising the entire shed on a proper foundation – concrete blocks in my case – to improve airflow underneath. The spacing of floor joists matters tremendously too. My original shed had them 60cm apart; I rebuilt with 30cm spacing for significantly better support.
Real-Life Consequences
The consequences of my inadequate floor weren't just structural – they affected everything I stored. My electric strimmer developed rust on its metal components after sitting on the damp floor. Cardboard boxes of Christmas decorations went soggy at the bottom, ruining some cherished ornaments.
The False Economy Trap
When comparing shed prices online, I initially thought the premium for thicker floors was a bit cheeky. The £75 difference between 12mm and 18mm flooring seemed steep when looking at the total shed cost. Three years and one complete floor replacement later, I understand it was the best value upgrade I could have chosen.
Making the Right Choice For Your Needs
Be honest about how you'll use your shed. My "just garden tools" quickly expanded to include bikes, camping gear, and DIY supplies. Consider your local conditions – if you're in a particularly damp area of Britain, investing in thicker flooring isn't optional. Think long-term – a quality shed should last 15-20 years, making the additional cost for proper flooring minimal when spread across its lifespan.
My Hard-Earned Advice
After my expensive lesson, I've become something of a shed floor evangelist among my friends and family. "Check the floor thickness first, then worry about everything else," is my standard advice now. For my replacement, I chose 22mm pressure-treated boards and haven't had a moment's trouble in the two years since.Remember, in the world of garden sheds, what you can't see often matters more than what you can. Choose wisely, and your shed will provide reliable service for decades rather than disappointment after a single season.